Friday, 16 August 2013

Hama Beads Cross Stich

Ok, I have somehow become re-addicted to Hama beads. When your little you always use the patterns that they give you, but to be honest, they are not to every ones liking . But I have just found out that you can use cross stitch patterns for your Hama beads. IT IS GREAT! I can now create really vintage cross stitch like decorations with the solidness of Hama beads.
 
Here are only some that I have made:
 

And of course a beloved minion from Despicable Me.


Thursday, 15 August 2013

Japanese Thing

Hello! I am on a bit of a craze today. This is not a crafty post but I thought you might find it interesting.
 
Ok, we have this friend that lives in Japan, and a few days ago we got a little present from him... There was a note attached which said that he 'thought it was edible'. We opened the very pretty packaging, with something very pretty inside.


...... but was it edible?
 
 
We proceeded to put it on a very pretty Japanese plate.


All very pretty but was it edible?
 
Me and my family can't read Japanese so we had no idea what was inside this thing.
 
My family tried it (I decided to leave for this part) and apparently it was disgusting
 
...but edible.


Travel Craft Kit

Hello, sorry for not posting for a while but you know how the holidays are. I was looking around Pinterest when I came across this travel craft kit, my own has turned out very different but I love it.
We are going to Italy next week and I am proudly going to take it along.
 
I started of with finding an old fabric bag and making two slits on the outside of the seam. Once I had done that I started to thread some string through the seam. Then I had a perfect (and functioning) drawstring.
 
Then I decided to print the bag, my Mum still had some old fabric stamps. I put some cardboard inside the bag so that I wouldn't print through onto the other side of the bag. The printing was done with paint not ink.


With my bag drying I decided to make a scrap book of one of my grandpa's old notebooks. He had already ripped out all the pages he had written on. I started with covering the front cover with some rustic brown paper. Then printing it with horse stamp. I added some tape on the binding and a pocket at the back as extra touches.


I added tape, pens, a date stamp, diary, list pad and a Jeeves and Wooster book. My travel kit was complete.


Wednesday, 3 July 2013

Yogurt Pot Tags

Opening the fridge door I found quite a lot of yogurt pots, they had really nice covers so I took them of. I cut out the bit I liked and decided to make them into tags, this is how I did it.
 
1. First start with eating a lot of yogurt.


2. Trace over the heart in the middle (I couldn't see through my card so I used a bit of thin paper for a template). Then cut the heart out of white card and stick it over the original heart.
 
3. Start to make dotted lines for people to write on with a gap of 1cm (8mm to be precise) in between each line. You can also write to and from at the top and bottom of your heart. So that you have something like this:  
 
 
4. Punch a hole into your tag and thread a bit of rustic looking sting through the hole. Then, your done!


Here are some of my finished tags.


Friday, 14 June 2013

Holiday (Kind of)

Hello, I am going on a trip to Norfolk next week so I won't be able to post anything. I am sorry :(. 

PS I'm packing this weekend.

Wednesday, 12 June 2013

Tape Magnets

Hello again! I was staring at my tapes, then at my board, then at the tapes again. The magnets seemed such a dull grey, so I decided to give them some colour. Then my sister wanted me to do some of hers, which were a plain blue and red.
 
Here are some of my finished ones:


I hope you like them.
 
PS If you do like them please leave a comment. :)
 

Monday, 10 June 2013

Japanese Flying Carp

Hello again! Once again, I was looking though pinterest and up popped another idea: Japanese flying carp. Here is the link to the blog: Squirrely Minds. Since I am going to Japan next year I thought that it would be a good idea to try out.  
In Japan to celebrate 'boys day' they hang up flying carp like in this picture:

Mine is not so intricate but has a cute effect.
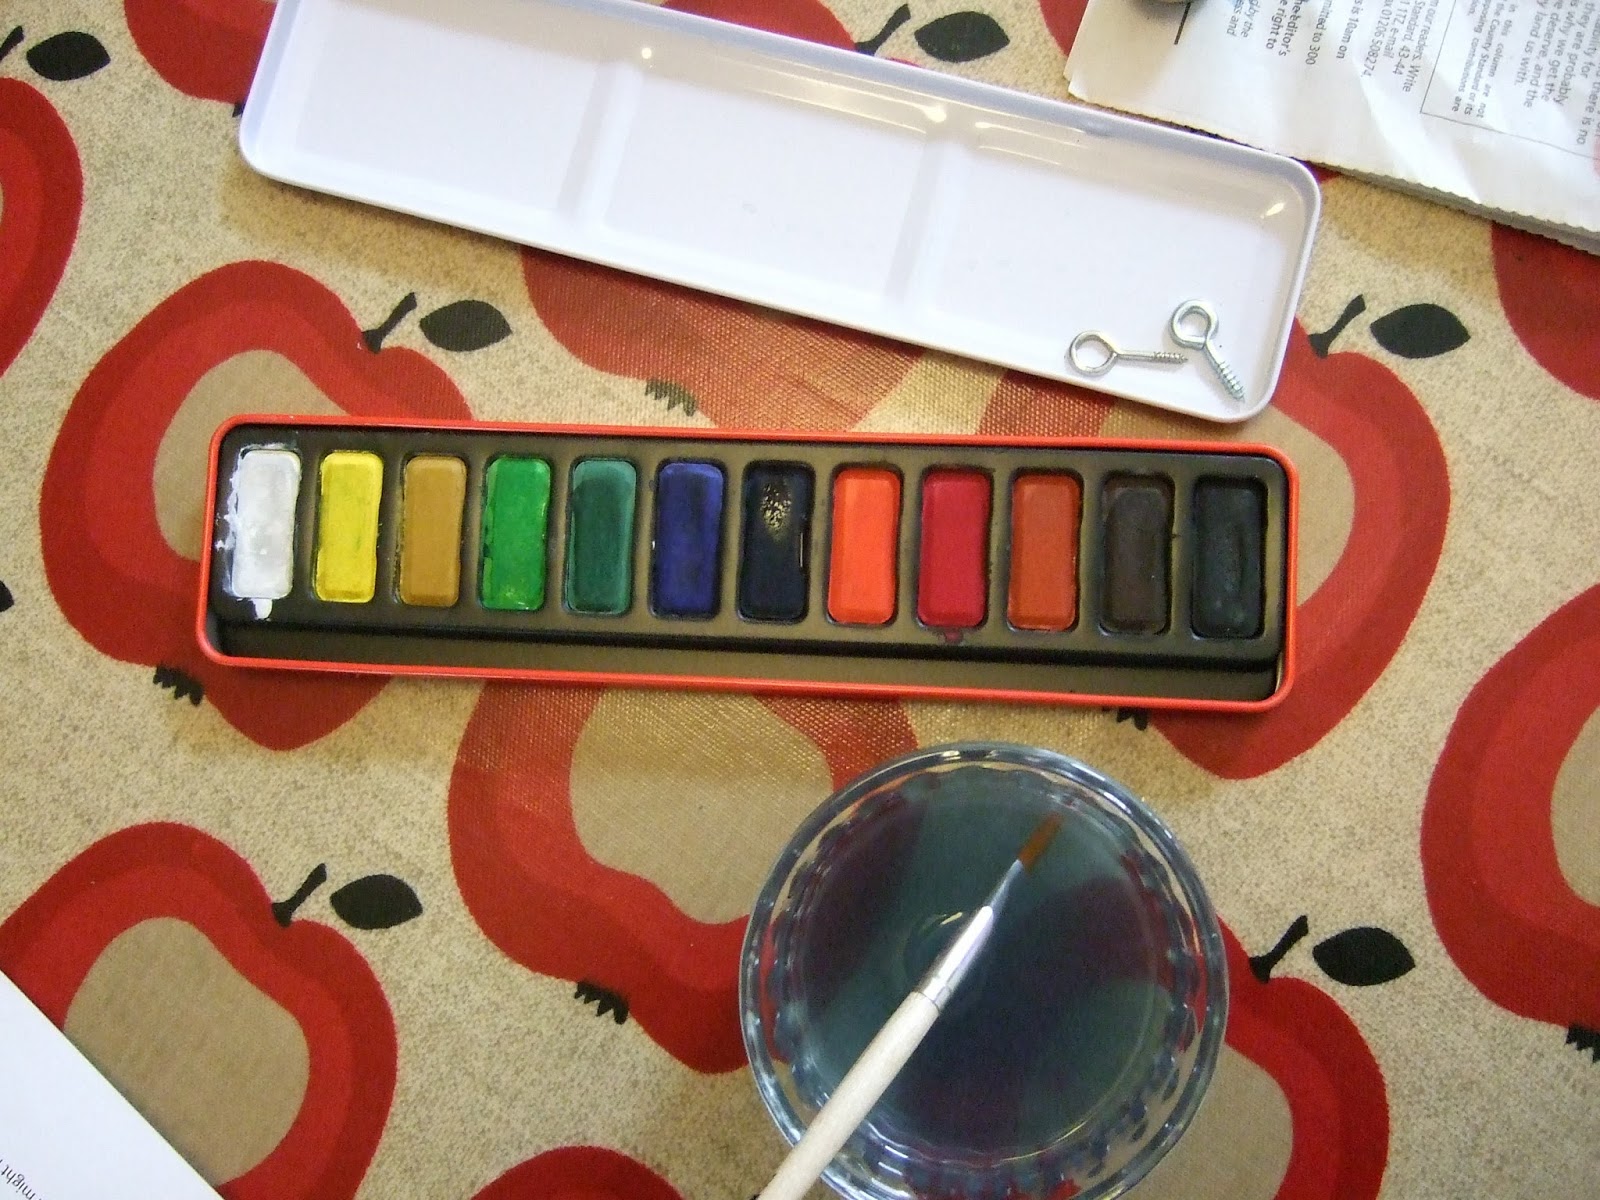
1. Cut circles of tissue paper with a diameter of about 4cm, you can use 4-5 colours (or more or less if you like). Then cut them in half so that you have semi-circles.


2. Start to stick your semi-circles onto your toilet roll in rows to create a scale effect.

 
3. Carry on doing it until you have something like this:

4. Cut out two circles of white paper and with a felt-tip (or sharpie) draw the pupil.
5. Start cutting strips of your tissue paper (cut or rip quite a lot more than in the picture.).

6. Start to stick them onto the back of your toilet roll layering the strips to get a nice effect.


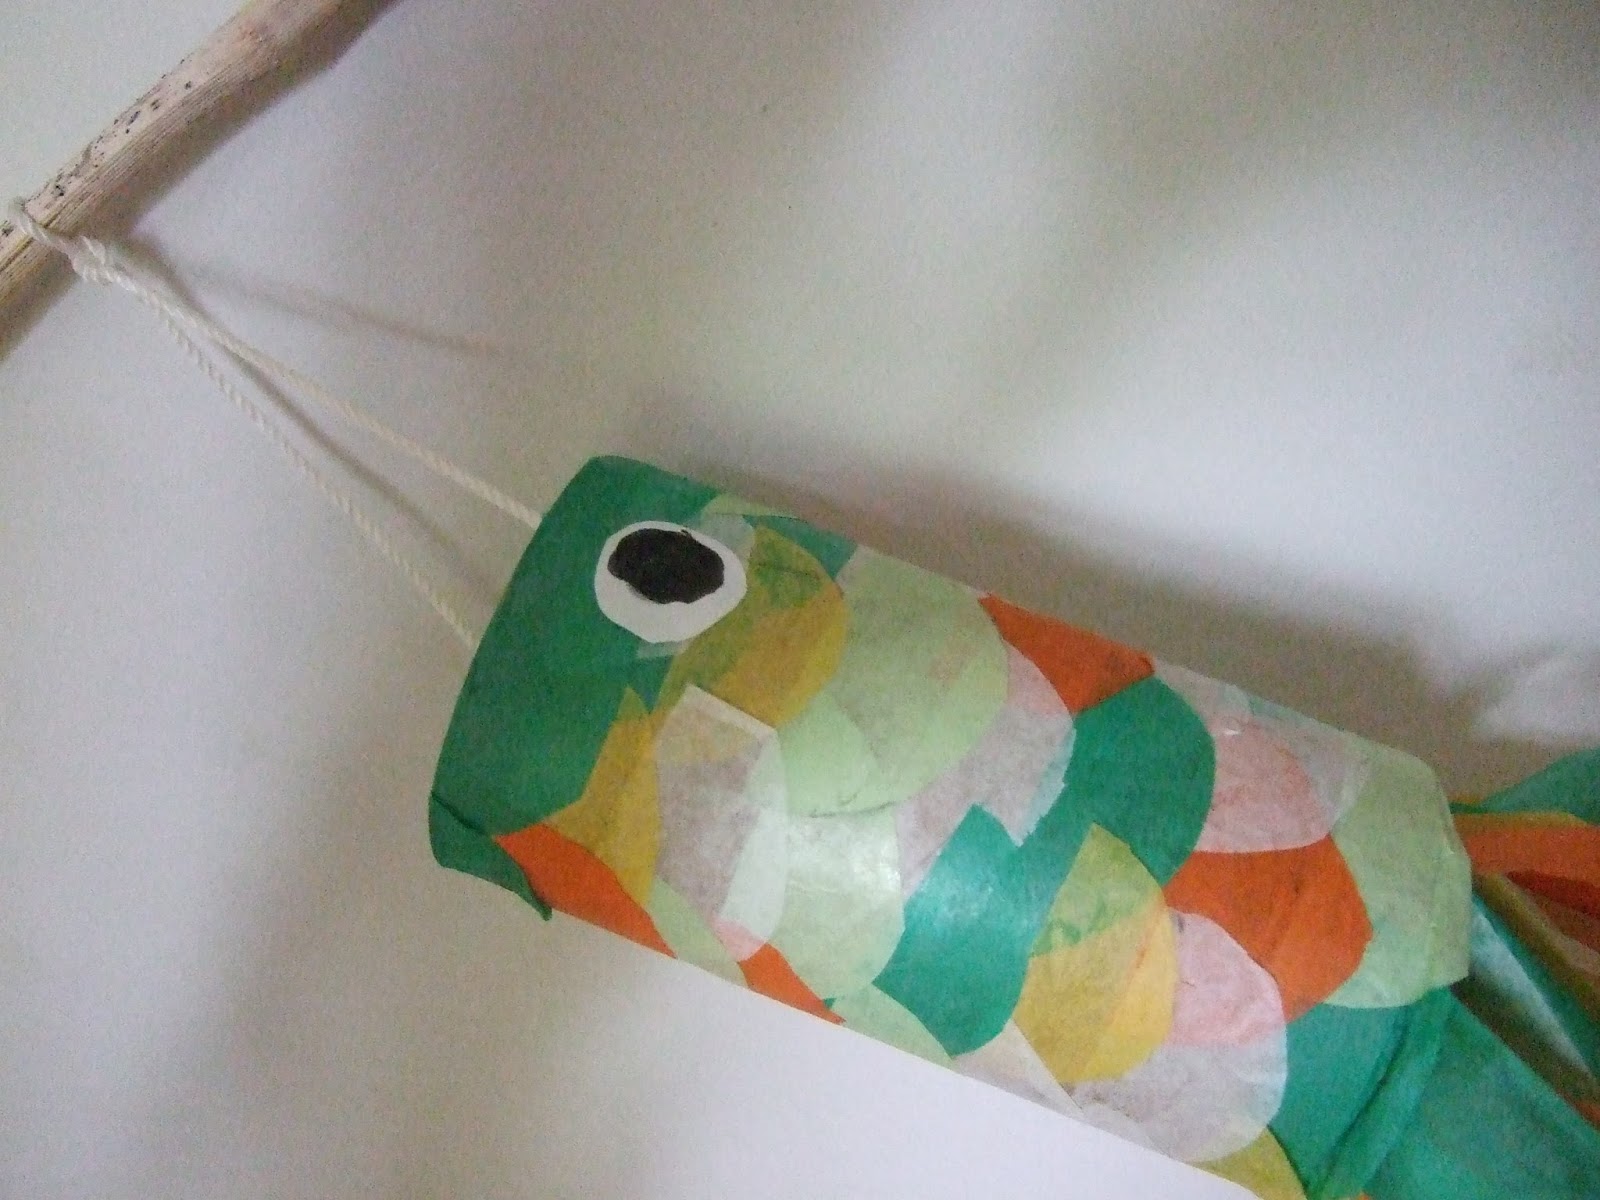
7. Get some string and knot it onto a stick. Like so:


8. With some tape, stick each side of the string each side of  the toilet roll.
Here is my finished result:


Sunday, 9 June 2013

Cork Charms

Looking on pinterest I stumbled across this great idea: decorated wine corks! Follow the link to go to the original blog, Fiskars.
 
1. Cut the corks into slices. You can use different sized corks for various effects.
 
 
2. Sand paper the corks till the surface is smooth.
3. You can paint or ink one side of the cork (I found that it looked nicer without the paint although one that had been painted did have a very nice effect.).
 
 
4. Stamp the corks, you don't need to have a stamp that is small enough for the cork. Just use a part of the stamp instead.


5. Screw in an eye screw and voila: you have a cork pendant that you can make into a necklace, keyring or something else.
 
 
Here are some of my finished charms: