Hello, I am going on a trip to Norfolk next week so I won't be able to post anything. I am sorry :(.
PS I'm packing this weekend.

Friday, 14 June 2013
Wednesday, 12 June 2013
Tape Magnets
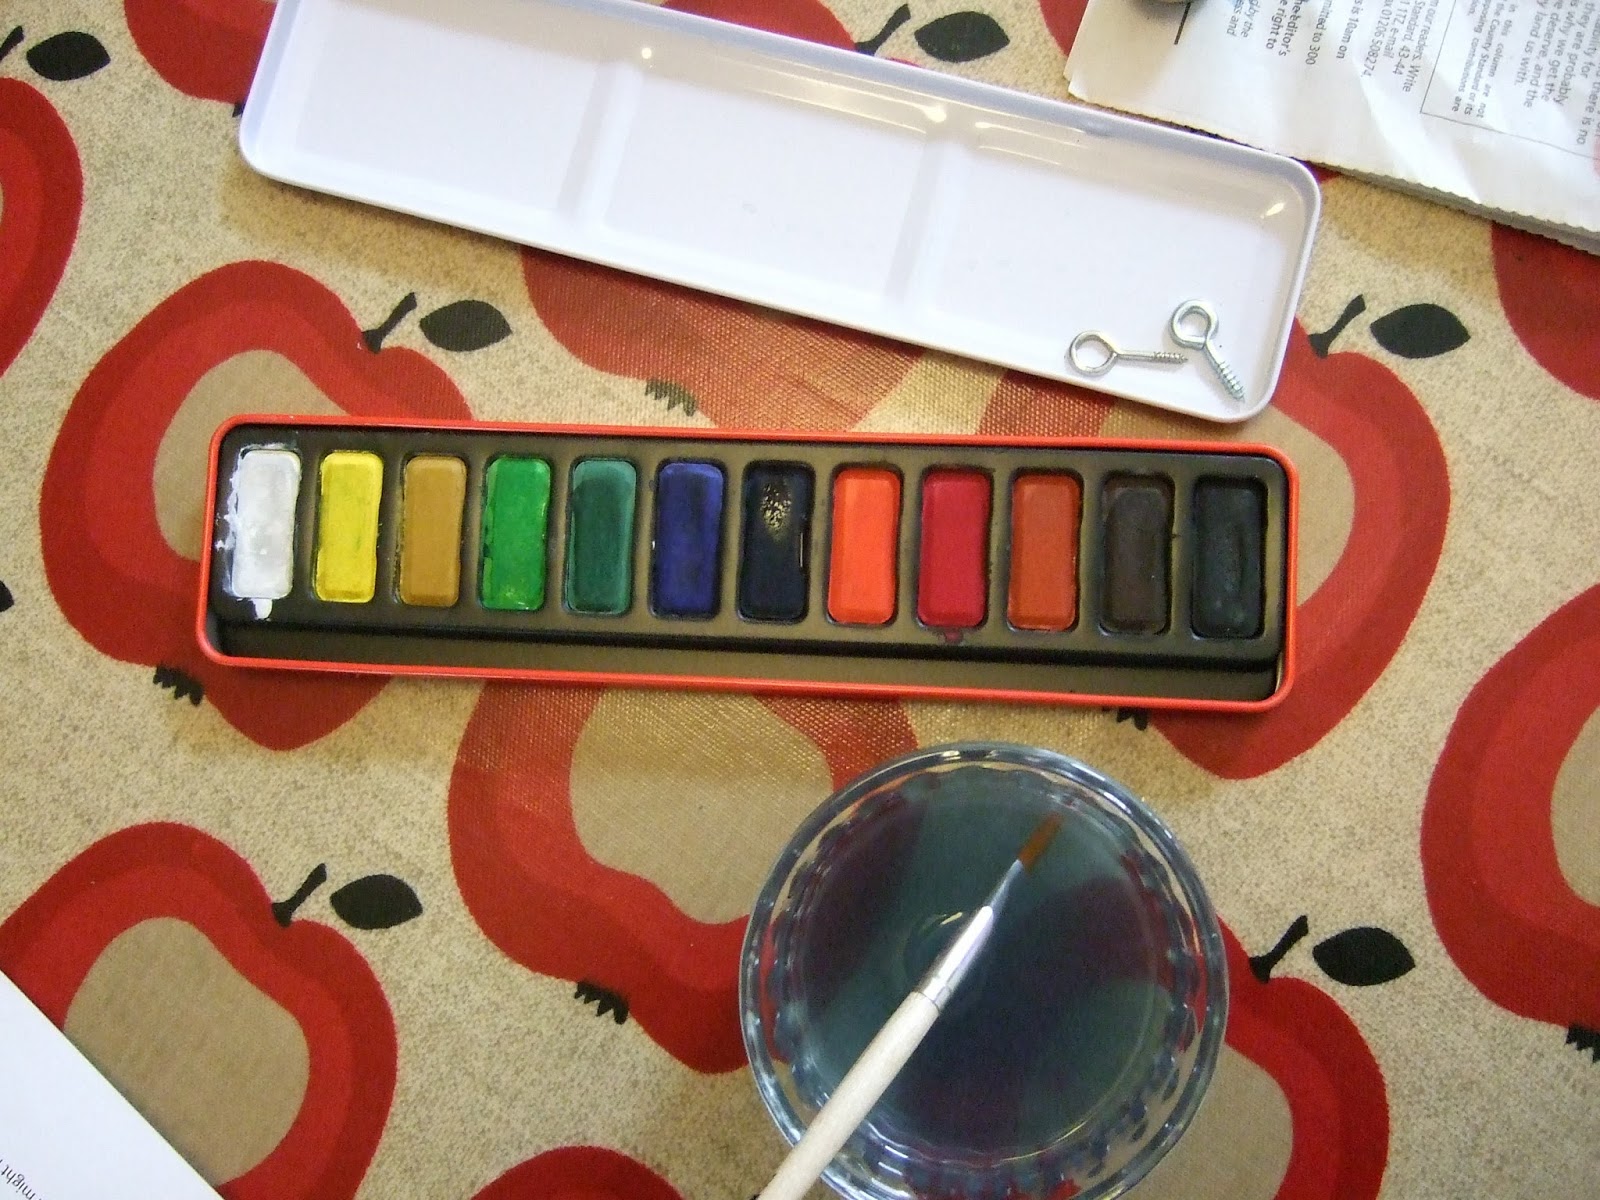
Hello again! I was staring at my tapes, then at my board, then at the tapes again. The magnets seemed such a dull grey, so I decided to give them some colour. Then my sister wanted me to do some of hers, which were a plain blue and red.
Here are some of my finished ones:
.JPG)
.JPG)
.JPG)
.JPG)
.JPG)
.JPG)
.JPG)
I hope you like them.
PS If you do like them please leave a comment. :)
Monday, 10 June 2013
Japanese Flying Carp
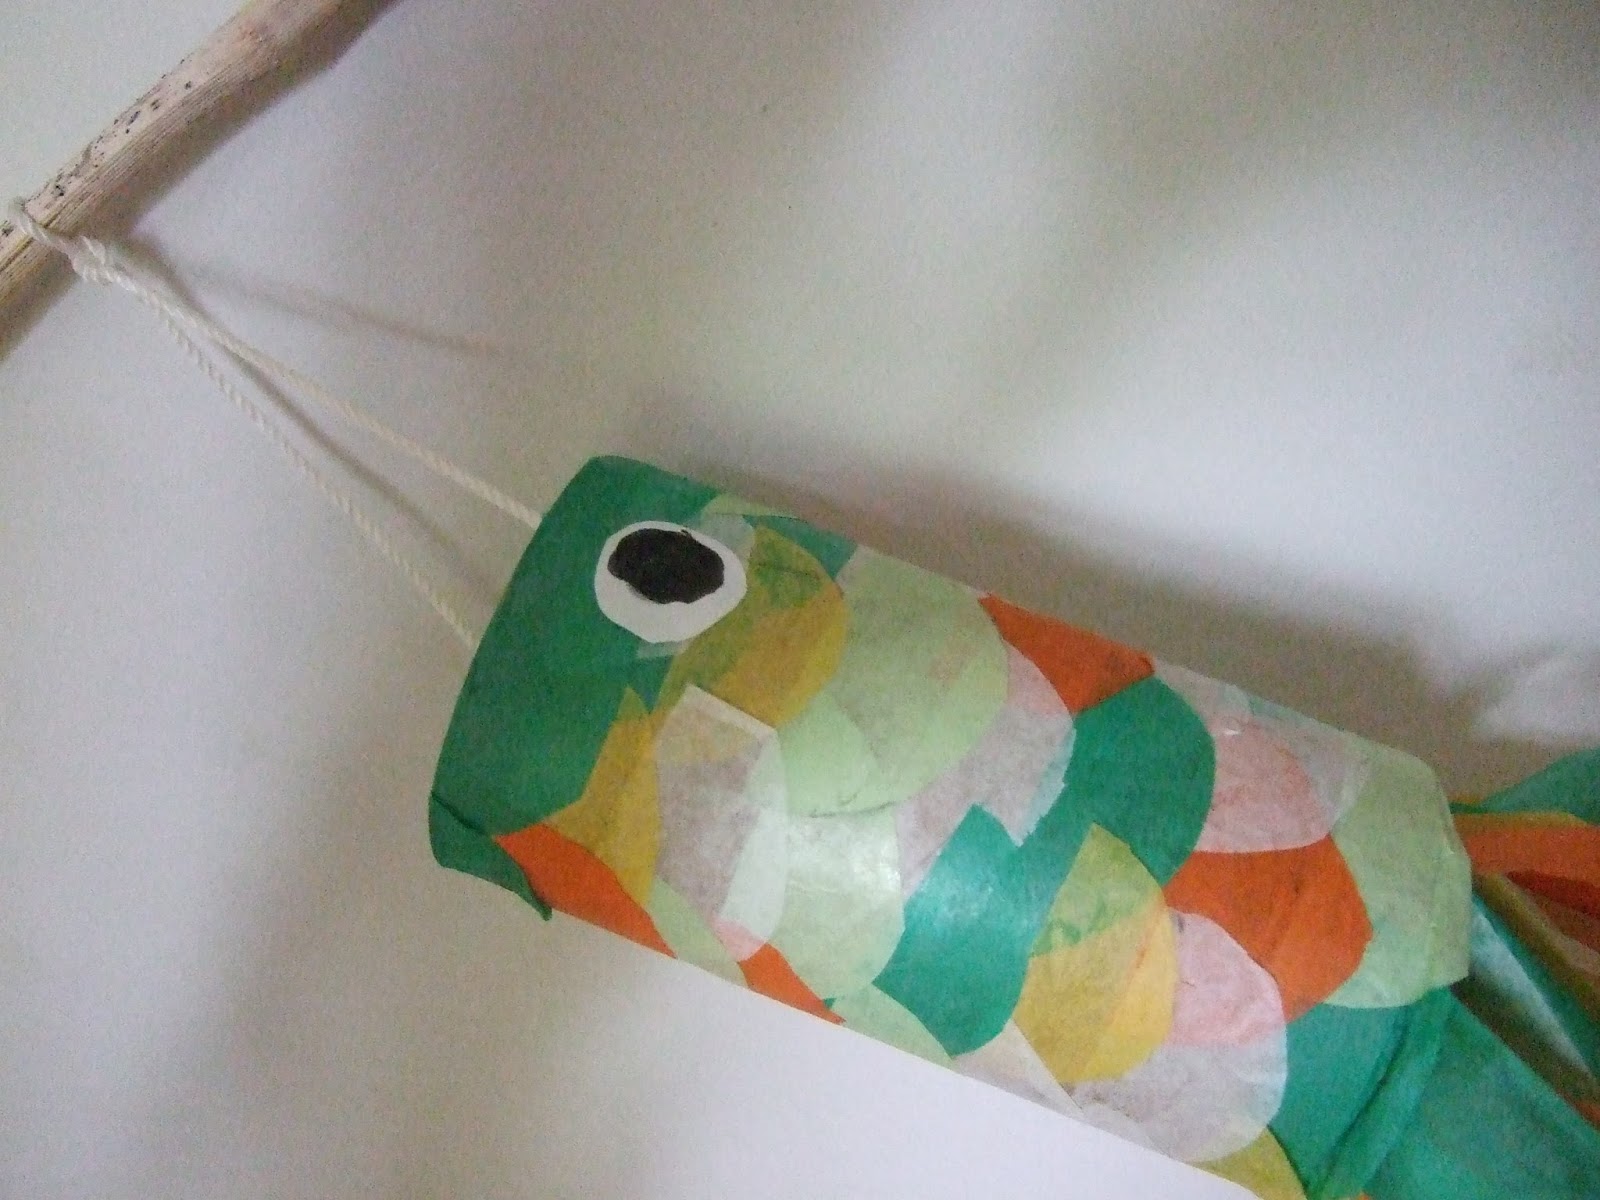
Hello again! Once again, I was looking though pinterest and up popped another idea: Japanese flying carp. Here is the link to the blog: Squirrely Minds. Since I am going to Japan next year I thought that it would be a good idea to try out.
In Japan to celebrate 'boys day' they hang up flying carp like in this picture:

Mine is not so intricate but has a cute effect.
1. Cut circles of tissue paper with a diameter of about 4cm, you can use 4-5 colours (or more or less if you like). Then cut them in half so that you have semi-circles.
2. Start to stick your semi-circles onto your toilet roll in rows to create a scale effect.

3. Carry on doing it until you have something like this:

4. Cut out two circles of white paper and with a felt-tip (or sharpie) draw the pupil.
5. Start cutting strips of your tissue paper (cut or rip quite a lot more than in the picture.).

6. Start to stick them onto the back of your toilet roll layering the strips to get a nice effect.

7. Get some string and knot it onto a stick. Like so:

8. With some tape, stick each side of the string each side of the toilet roll.
Here is my finished result:


Sunday, 9 June 2013
Cork Charms
Looking on pinterest I stumbled across this great idea: decorated wine corks! Follow the link to go to the original blog, Fiskars.
1. Cut the corks into slices. You can use different sized corks for various effects.

2. Sand paper the corks till the surface is smooth.
3. You can paint or ink one side of the cork (I found that it looked nicer without the paint although one that had been painted did have a very nice effect.).
4. Stamp the corks, you don't need to have a stamp that is small enough for the cork. Just use a part of the stamp instead.

5. Screw in an eye screw and voila: you have a cork pendant that you can make into a necklace, keyring or something else.

Here are some of my finished charms:


Subscribe to:
Comments (Atom)